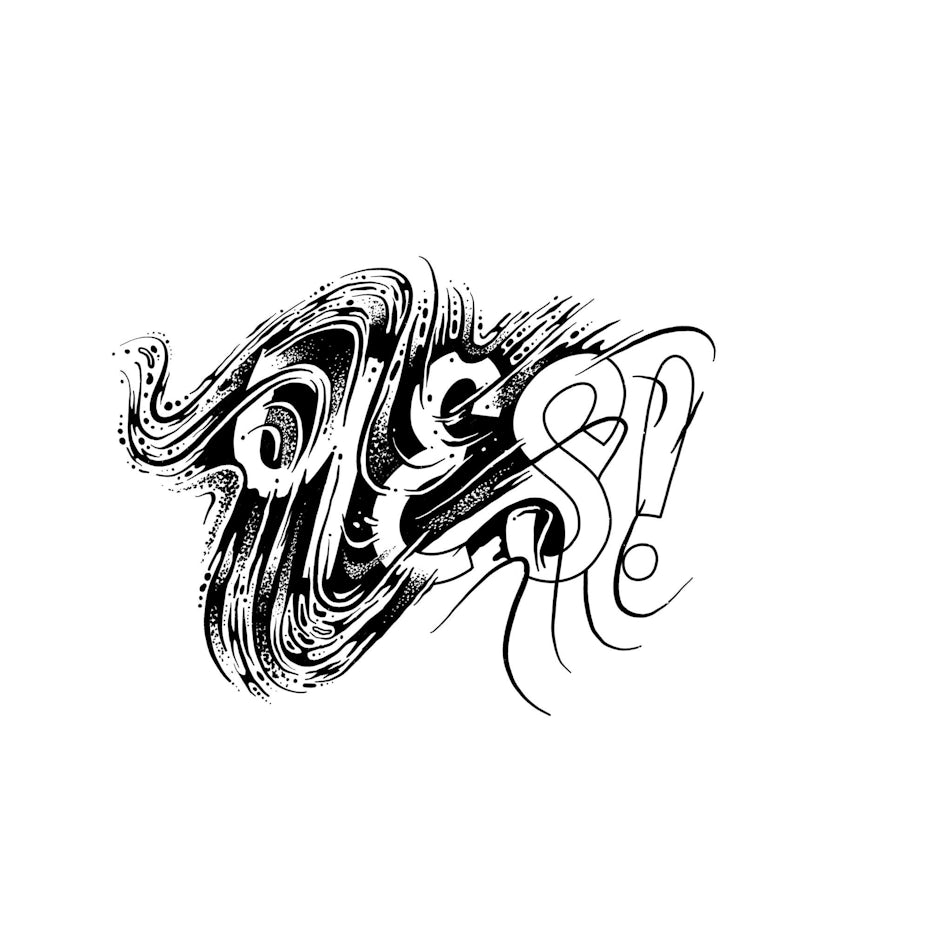
Lettering can be used in so many ways, from corporate logotypes to super intricate and detailed art prints or murals. You can combine your letters with illustrations, give them meaning and make them as dynamic as you’d like! Which brings us to what we’re going to learn in this mini tutorial: adding movement, depth and energy to your letter designs.

Don’t be intimidated though! With some practice and a loooot of patience, you will become a master of dynamic lettering.
Remember that you can apply these steps to any drawing program you’re comfortable in, or even use them when you’re working with pen and paper.
1. Prepare your document and layers
—
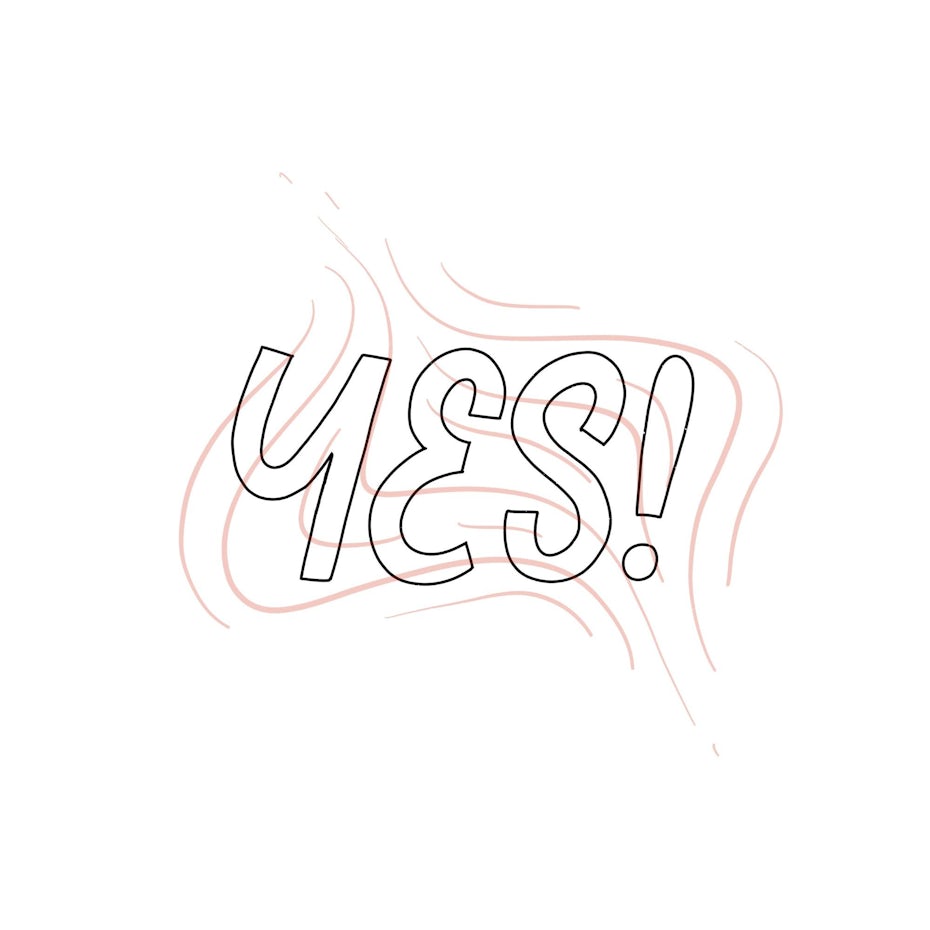
Create a new document at the desired size (I used a 300 mm square canvas with 300 DPI). Add your letter or word in outline mode to a new layer. I recommend you use a shorter word at first, just until you get more confident and comfortable drawing in this style. You can use your own custom made lettering or your favorite font. Just make sure you choose letterforms that are somewhat bold and clear, rather than something delicate and slim.
On a new layer start sketching in the direction of where you want your movement to go. These lines won’t be part of your final design, so don’t worry about making them pretty and perfect. They will just serve as guides. You can use a different color than the one you used for your letters. This will help you distinguish the guides from the actual drawing.
Don’t stop after the first version you more or less like! Explore the layout, direction and composition a little more, making at least 3 versions.

Once you are happy with the overall composition and movement, drag the opacity of the guides down. Duplicate the layer with the lettering just in case, hide one of them, and start drawing on the lettering layer that’s showing.

2. Start filling in the design
—
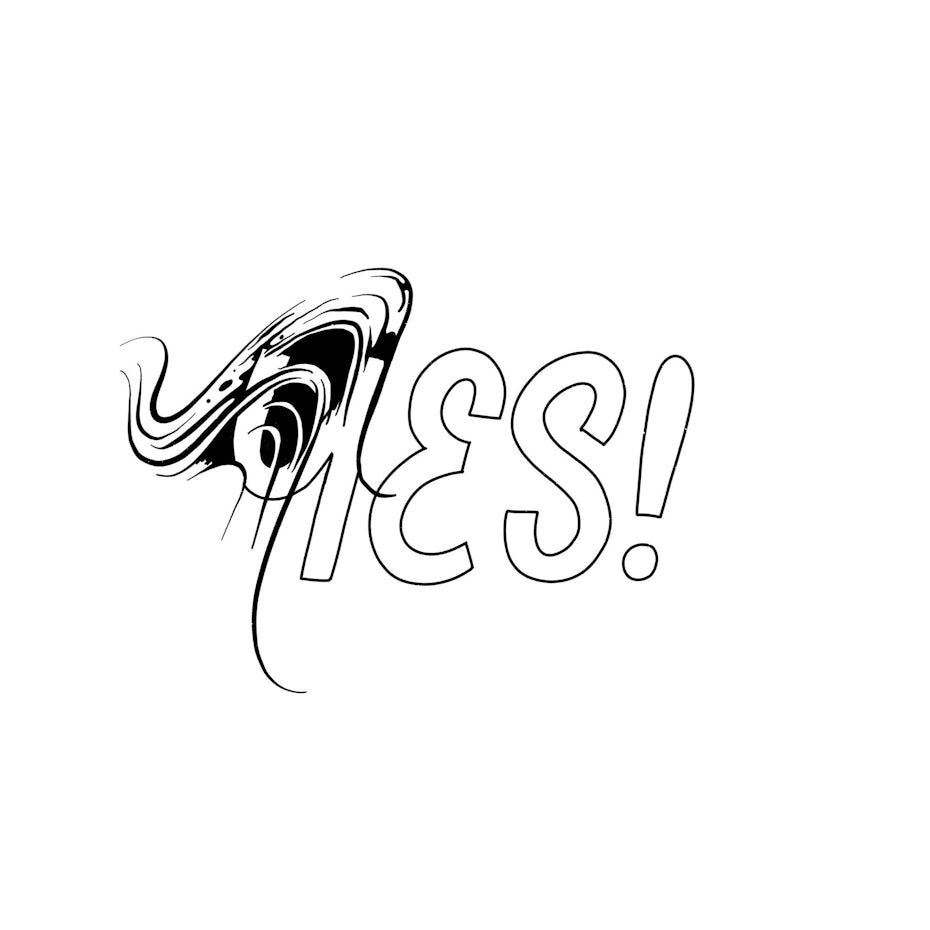
Select the layer that contains the outlined letters and with your favorite brush selected start drawing. I recommend using a brush with clean edges, not one that is very messy, grainy or eroded because the piece itself will be rather detailed.

Keep the guides you previously drew at the base of your drawing and, switching between your brush and eraser, start drawing and erasing the lines.
For this drawing we are not looking to have the outlines of the letters in the final drawing, so as you draw, make sure to incorporate and erase the outlines as well.
Start adding little dots and splotches wherever you feel they fit.
You can create a rough sketch at first and finalize it later, or work more or less precise from the start and polish as you go.

Keep in mind that you still need your letters to be easily legible, so make sure that you have a consistent contrast between your letters and the space around them. You can achieve this with color: keep your letters mostly white and the space around them mostly black (or vice versa, if you are working on a dark background).
3. Add in dots and splotches
—

To make it more interesting and even more dynamic, add some dots, splashes or even some stippling here and there.
You can achieve this dusty look by using a small eraser and stipple on the black area (the area around the letters), slowly erasing the line where the two shapes meet. Then, switch back to the brush and do the same, slowly blending towards the erased area.
Use this ‘dustifying’ effect consistently and make sure you spread out these areas evenly throughout the design, otherwise it will look off and unbalanced.
4. Work your way through the design
—
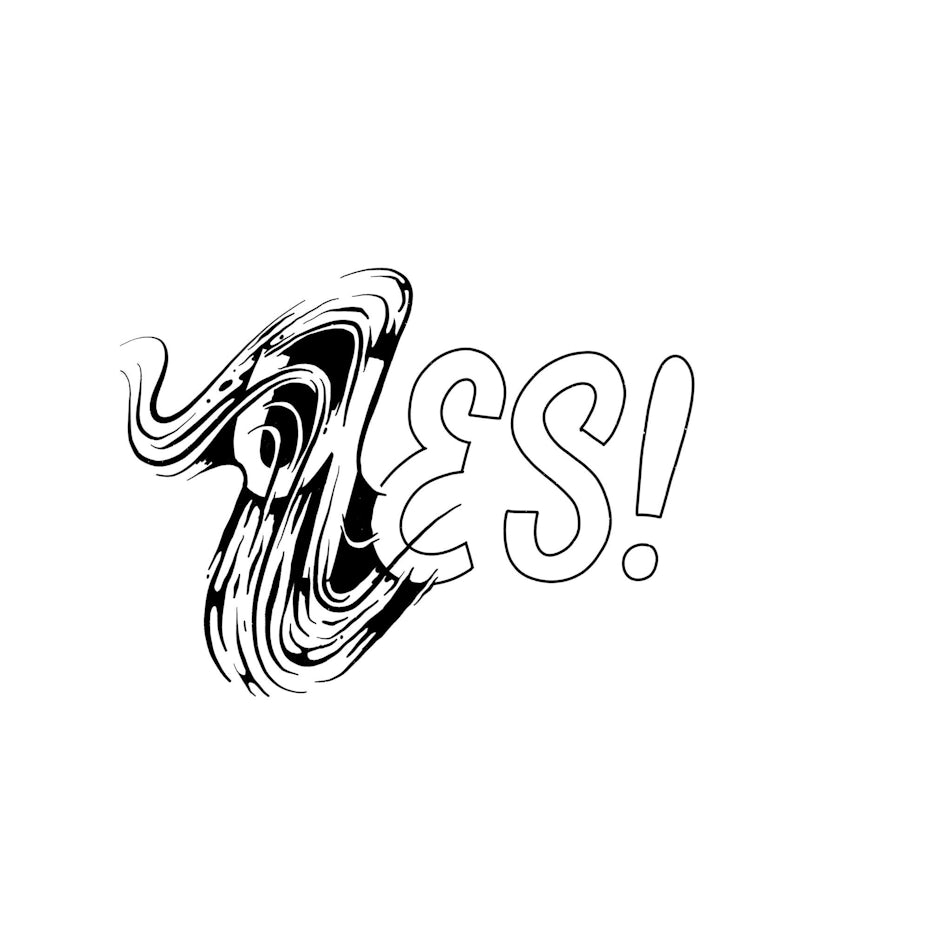
Slowly work your way through the design towards the end of the word, perfecting as you go. Remember, you can always go back to refine if you feel like it!
When adding new waves, make sure you keep a consistent direction and a nice flow!

Keep turning your guides on, to see what shape your waves need to have and off, to see the overall, clean composition.

By this time your hand probably feels like falling off and you can’t wait to be done with it already, but don’t rush the end of it!
Once you are done, zoom out and take a look again at the overall composition with the guides turned off to see if you need to add or erase some areas.

You could call this finished already, so the next step is really just optional.
5. Add some finishing touches
—
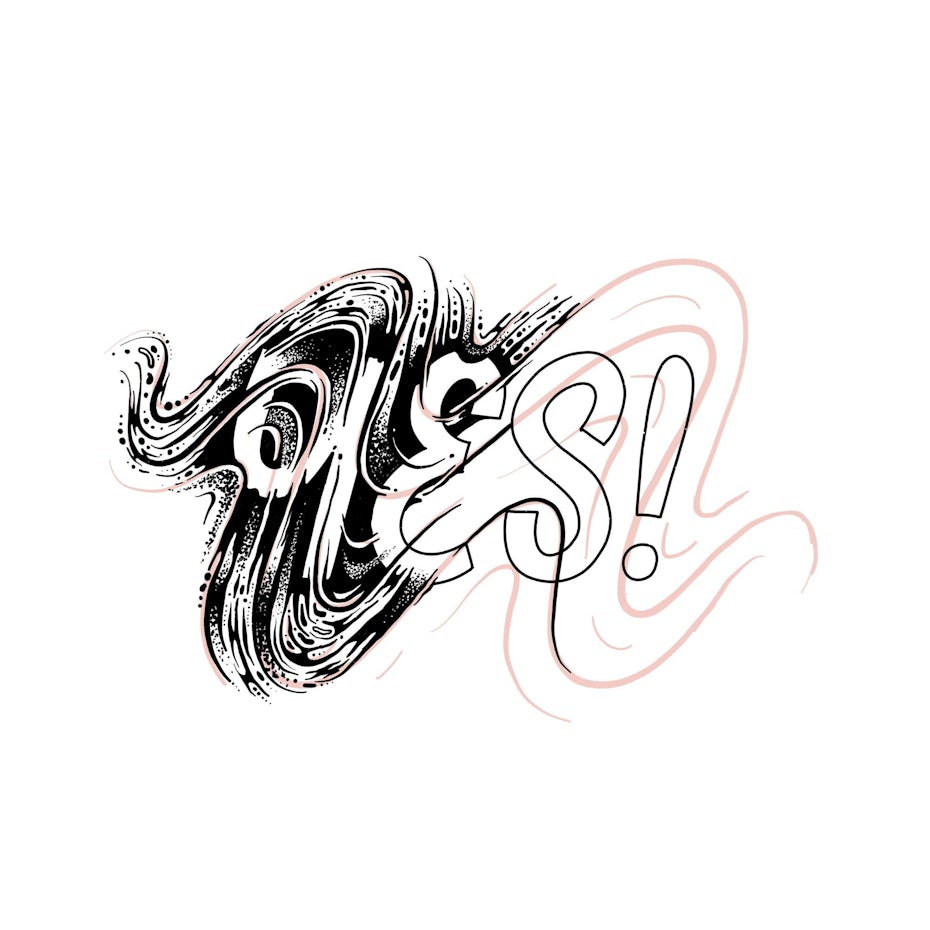
Create a new layer and with a grainy brush paint over those dusty, stippled areas—harder at their core and softer around the edges. Don’t be afraid to use a bigger brush than what would fit that exact space, so that the texture of the brush can be visible. Because we created a new layer for these strokes, you can easily delete the grain from the unwanted areas. Repeat this with as many dusty areas as you like (just remember to have a consistency between the shaded and not shaded spaces) and merge all layers at the end.
This trick will just smooth out the stippled areas, but it really depends on what you personally like.
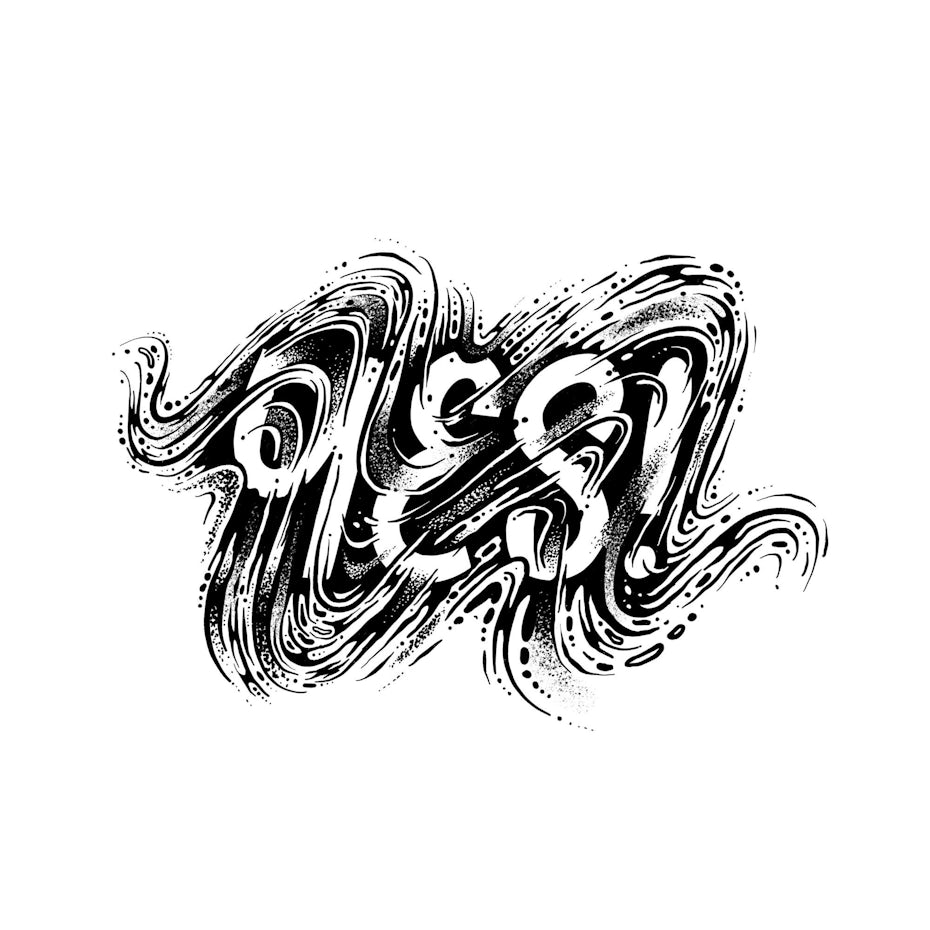
And there you go! A wavy, dynamic work of art.
Time to create your own dynamic lettering design
—
Once you are comfortable with the process, feel free to work around longer words or even phrases! Don’t forget: the more you play and experiment with it, the sooner you will develop your own unique recipe and style of creating this type of art.
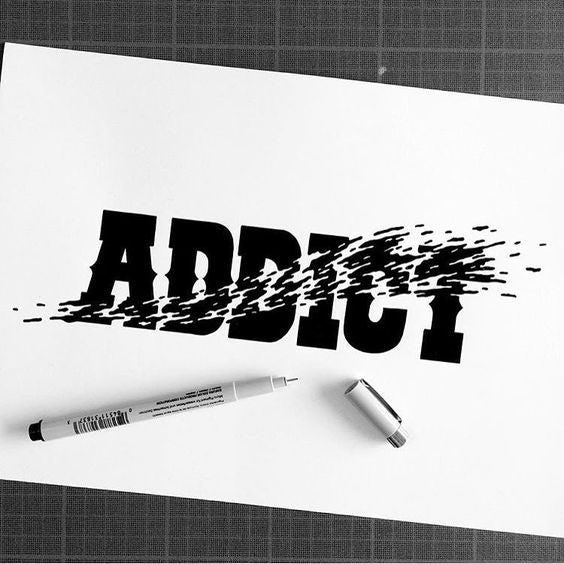
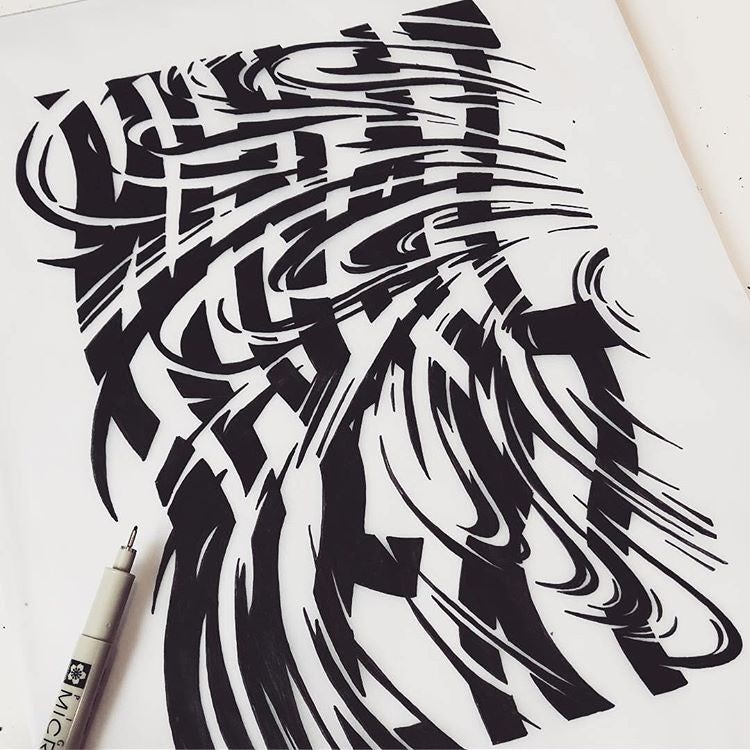
Here are some badass artworks as inspiration to get your creative juices flowing:


Now go ahead and give this style of lettering a go. Let us know in the comments below how it turned out!
The post Dynamic lettering: how to add movement to your letters appeared first on 99designs.
No comments:
Post a Comment